I was recording a couple of birds singing when someone asked me how I did it. Sound recording is a great hobby but having the tools to record at any moment with ease can be a lifesaver. You may want to remember what someone was saying in a speech, save a the tune of a song that you liked, or even record a corrupt official asking for money. All these things can be done with the help of your iPhone a little app that comes installed from the factory. Here is how:
Recording
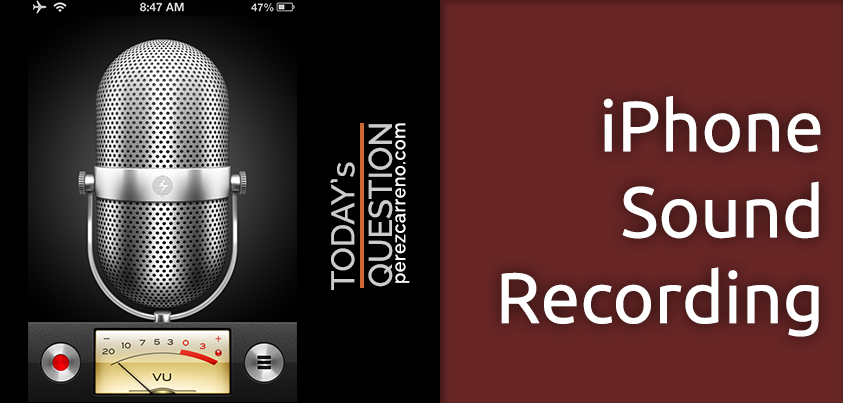
Recording on the iPhone is quite easy to accomplish and the same applies for the iPad and iPod Touch. If you look around your applications you will find one with a blue icon called “Sound Memos”. Tap it to open it and you will be greeted by a simple to-the-point screen with a huge microphone, a record button, a level meter, and a list button. To start recording press the red record button (circle). When you press record, a red bar will appear at the top of the screen indicating the recording time. You may also notice that the “list” button on the right changes to a square stop button. This is the button you will press when you are done.
[one_half] [/one_half][one_half_last]
 [/one_half_last]
Note: The red record button will also change to a pause button while recording. This button may be used if you want to temporarily pause a recording and continue afterwards.
The important thing to look at on the screen while getting ready to record and/or recording is the level meter. This meter will indicate how low or high the volume of whatever you are recording is. Make sure not to go over “3” or you may get audible distortion (noises) when you playback.
Playback
To play something you have already recorded, press the list button on the original screen (while not recording). This will open a list of all the recordings you have stored on your device. The first one on the list will start playing automatically. To stop playing tap the pause button next to the recording name. To play another recording, tap the item you want and then tap its play button. You may also delete any recording from this screen by tapping the large red “Delete” button on the bottom.
[one_half] [/one_half][one_half_last]
 [/one_half_last]
Editing
If you want to modify a recording’s name you may do so by tapping the right blue arrow next to the item’s duration in the list. You will see a screen called “Info” that includes detailed information about that particular recording as well as the option to trim [see below] and modify its name. Tap anywhere inside the information bubble and you will see a list of predefined name options. You may choose custom at the very end and write down whichever name pleases you. Simply use the back arrows when you are done.
[one_third] [/one_third][one_third]
 [/one_third][one_third_last]
 [/one_third_last]
Trimming
Yes – believe it or not – you can trim the recording directly from the app. If you wish to keep only a portion of the recording (remove your own voice or an unwanted noise, etc) just tap the “Trim Memo” button in the “Info” screen mentioned above. You will see a dark screen with a play button, a duration bar and the yellow “Trim Voice Memo” button. You may use the play button to listen to the recording first and then use your finger to drag the ends of the duration bar to the position you want. When you press the “Trim Voice Memo” button, the audio will be cut to hold only what was inside the length you specified with the duration bar. That’s it!
[one_half] [/one_half][one_half_last]
 [/one_half_last]
Conclusion
I hope this tutorial helped you take more advantage of your iPhone. What are some creative uses for sound recording with this app? Comment below!

